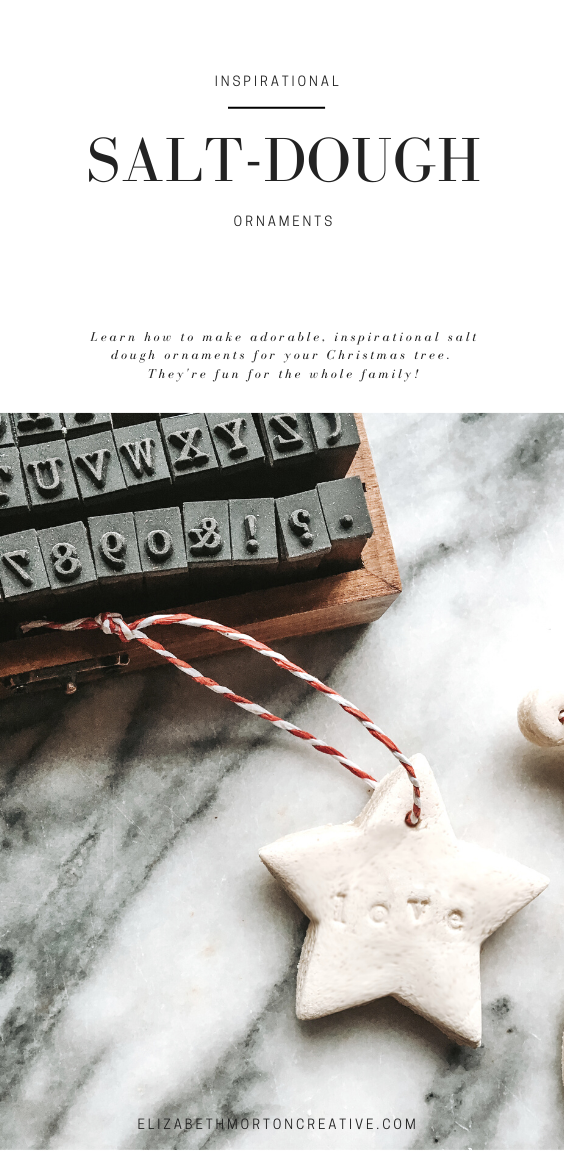
Learn how to make adorable salt dough ornaments for your Christmas tree. This tutorial will teach you everything you need to know step-by-step. This is a fun project for adults and kids alike. Nothing beats a homemade Christmas tree ornament, and these are simply delightful.
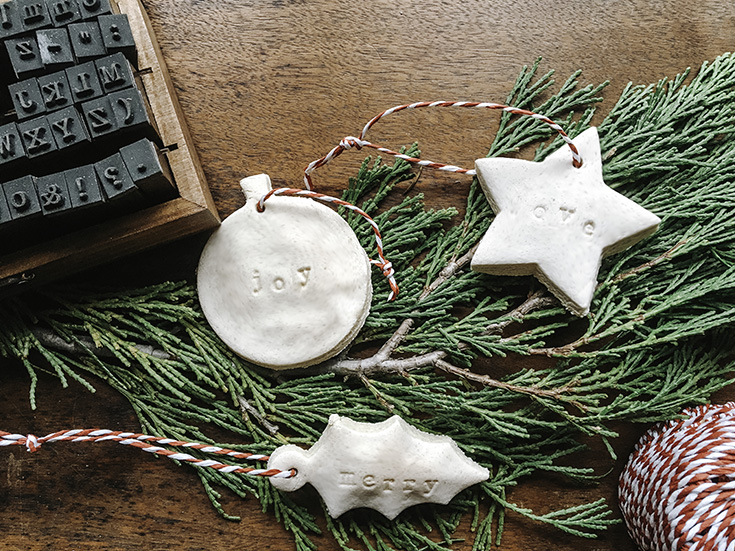
I remember being a little girl and making salt dough ornaments with my family. We would pull out the flour, salt, mixer, water, and whip up a quick batch of dough. After the dough was made, we would get to work making ornaments for the Christmas tree.
This year, I decided to make many of my Christmas decorations. I love the simple homemade look of handmade Christmas decor. I stumbled across On Sutton Place’s DIY air-dry ornaments and fell in love with the purity of her ornaments. However, I wanted to use ingredients that I had on hand, so I made mine using a traditional salt dough recipe.
How to make salt dough for your ornaments
I researched several recipes. Many of them called for baking at a very low temperature for several hours. Being an impatient person, I wanted to decorate my tree as quickly as possible. I kept researching until I found a recipe that called for higher baking temperature and shorter baking time. Instead of taking hours to make, these salt-dough ornaments were ready for the tree in less than an hour.
Salt Dough recipe Ingredients
- 4 cups all-purpose flour
- 1 cup table salt
- 1 1/2 cups warm water
Additional Items needed
- Mixer
- Christmas cookie cutters
- Baking sheet
- Parchment paper
- Alphabet stamps
- Red and white bakers twine
- rollng pin
- Something to poke a hole in the ornament, I used a pencil
SHOP THIS POST
Homemade salt dough recipe process
Step 1:
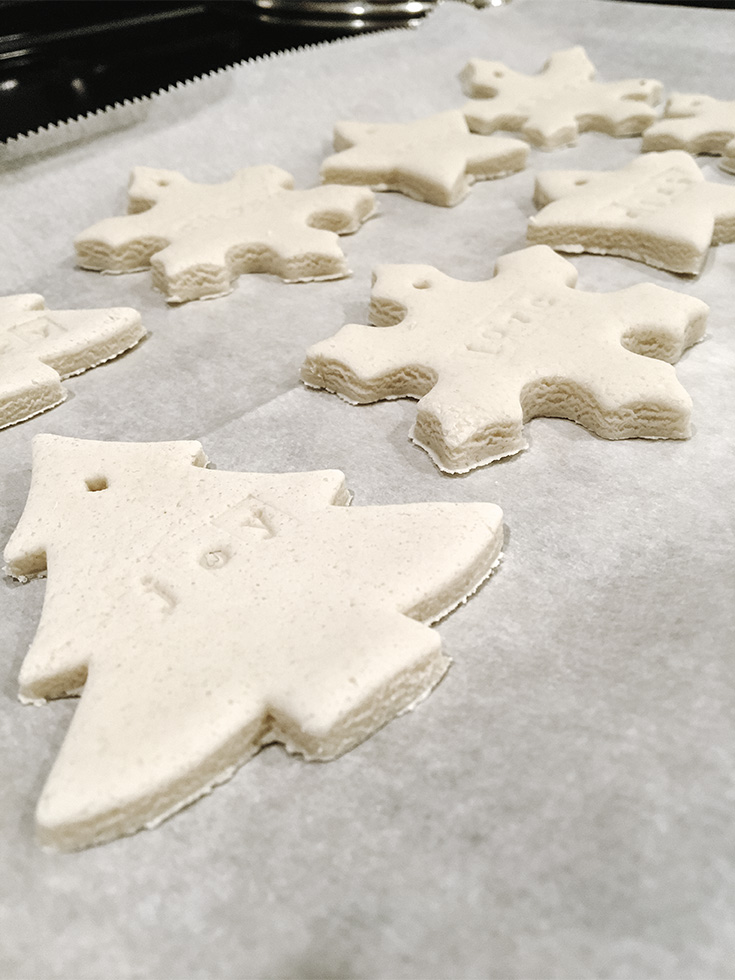
Preheat the oven. I used 350 degrees and baked my ornaments for approximately 30 minutes per baking sheet. My ornaments did puff up a little bit, but I did not mind. For flatter ornaments, heat oven to 250 and cook lower and slower.
Step 2 :
Add 4 cups of flour, and 1 cup of table salt to your mixer.
Step 3:
Slowly pour 1 and 1/2 cups of warm water into the mixer while it is mixing on low. Combine until all of the ingredients form a soft dough.
Step 4:
Separate your dough mixture into 4 equal parts. Begin by placing the first quarter of the dough on a flat work surface. Using a rolling pin, roll the dough out to approximately 1/4 of an inch thick.
Step 5:
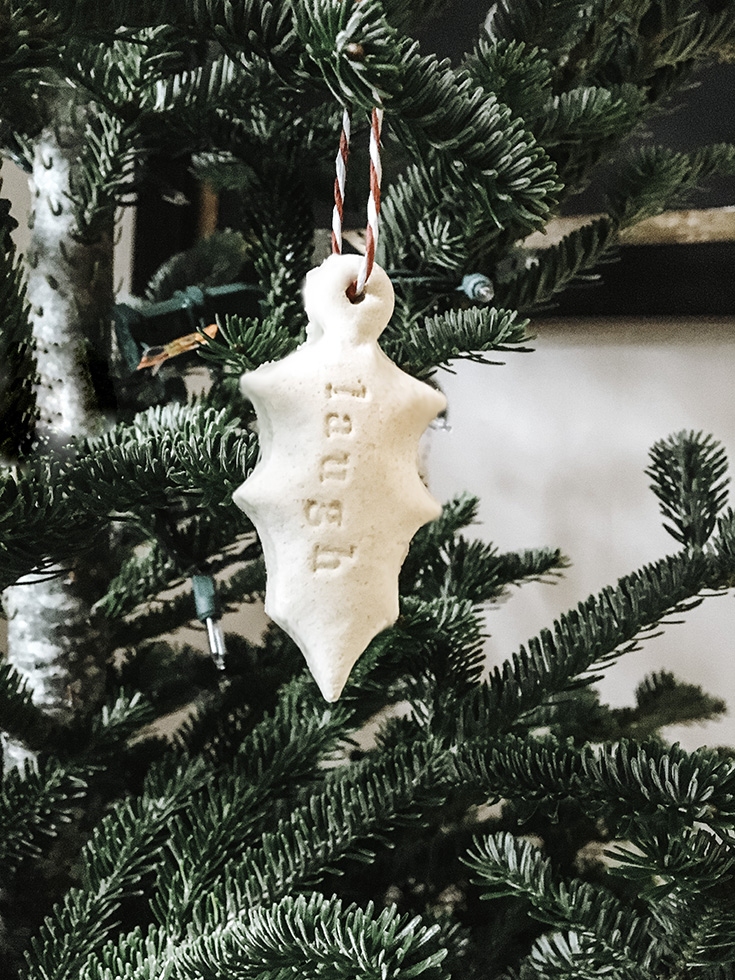
Use cookie cutters to cut through the dough. I primarily used stars, a holly leaf, a Christmas tree, and snowflakes.
Step 6:
Poke a hole in the top of your ornament with a straw, or pencil. You will use this hole for your bakers’ twine at the end.
Step 7:
Use the alphabet stamps to stamp out inspirational words onto your dough.
- A few tips on using alphabet stamps
- Use short words. A 5 letter word is the max word length that will fit on your salt dough ornament.
- Hold your alphabet stamps together and stamp the whole word at one time. If using 5 letters, you may have to stamp the first four letters first and then stamp the final letter by itself.
- Watch your pressure when stamping. If you stamp too light the words will barely show. Stamping too hard may cause an outline show on your salt dough ornaments.
Tips on how to bake your salt dough ornaments
Place your salt dough ornaments on a baking sheet and place them in the oven. The thickness of the dough will determine how long you bake them. I baked mine at 325 for 20 to 30 minutes.
The ornaments are ready when they’re hard to the touch, but have not started to brown. As I mentioned previously, I didn’t mind my ornaments being a little bit puffy. However, if you encounter too much-puffing, roll out the dough thinner. A thinner dough will help reduce puffiness. A second way to reduce puffiness is to bake them at 250 degrees Fahrenheit for a longer time.
After your salt dough ornaments have fully baked, but before they are cool, poke them again with your pencil or straw. This will ensure the hole didn’t close during baking. Next, allow your salt dough ornaments to cool.
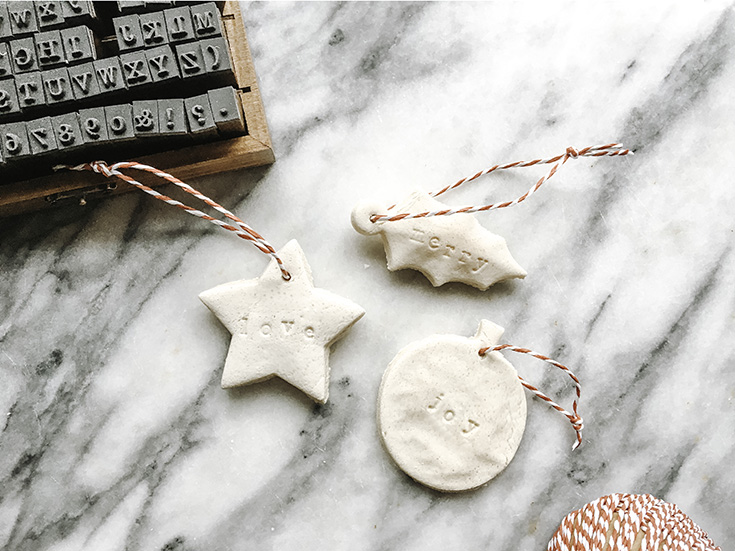
Once your ornaments have cooled, cut a piece of bakers’ string, loop it through the hole and tie a knot.
Your salt dough ornaments are ready to hang on the tree! Have fun decorating.
I hope these handmade simple salt dough ornaments help to add a simple, handmade feel to your holiday season. They are a simple reminder to slow down and remember what is important this season.

Check out these other holiday posts while you’re here.
DIY Orange Ginger Sugar Scrub recipe. This recipe makes a wonderful holiday gift for friends and family, or make it for yourself to keep dry, winter skin away. This sugar scrub is made from ingredients you’ll find lying around your kitchen + a few essential oils. It is my go to exfoliate my skin and keep it soft during the winter.
DIY Fresh Christmas garland. This tutorial will show you exactly how to make your own fresh Christmas garland in 8 simple steps. It is so easy and takes less than an hour to make. I found the fresh greenery and holly in my backyard. It will make your home smell lovely for days!
Absolutely the best peanut butter fudge recipe ever! I am not kidding, it really is the best fudge I have ever tried. It will satisfy any sweet tooth. In addition to being delicious, it makes a terrific, holiday party treat. It is also easy to pack up and ship to friends and family out-of-state.
Simple, Decadent Chocolate Lave Cake. This decadent, dark chocolate lava cake will melt in your mouth and tickle your tastebuds. It is perfect for a holiday dinner party or a quiet evening at home. You will not believe how easily this recipe comes together. What are you waiting for, you know you want to check it out…
7 of the most charming Scandinavian Christmas decorating ideas. Are you familiar with the simple Scandinavian style? Well, I am here to tell you I am in love. On the blog, I am sharing why I love the Scandinavian style so much and 7 easy ways you can incorporate the Scandinavian style into your holiday decorations this year. Why not try something new this season? Click the link to find out more about this simple, rustic style of Christmas decorating.–
PIN IT FOR LATER

WE LOVE FEEDBACK!
We love to hear your feedback! Please leave us a comment below. Also, we love shares! Share this post on social, and tag it #elizabethmortoncreative. Pin it on Pinterest for later.
