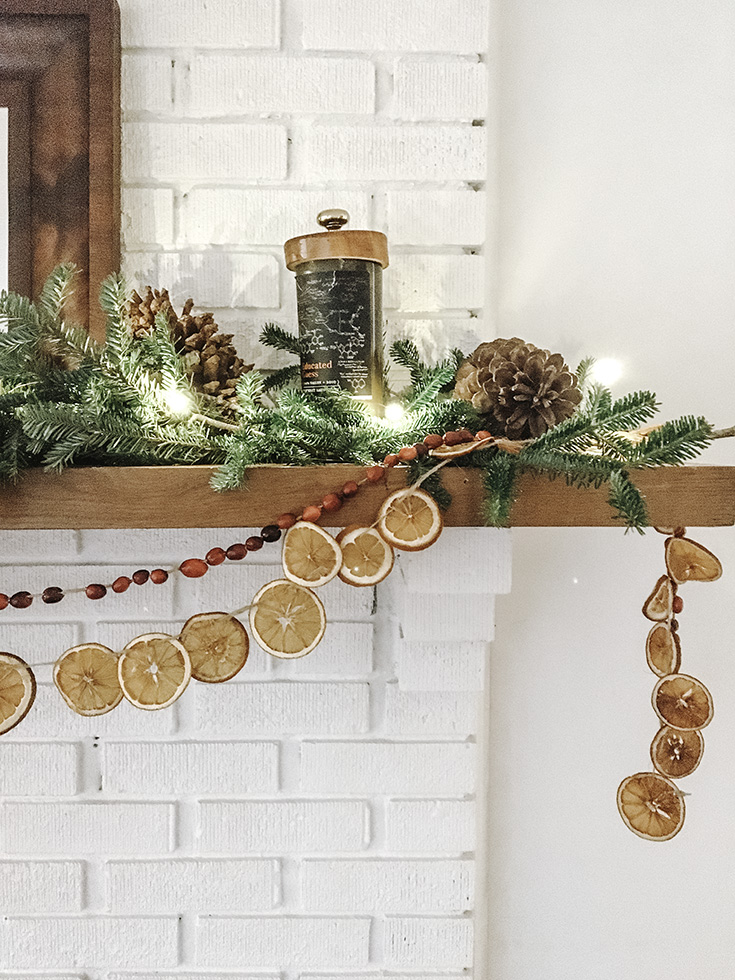
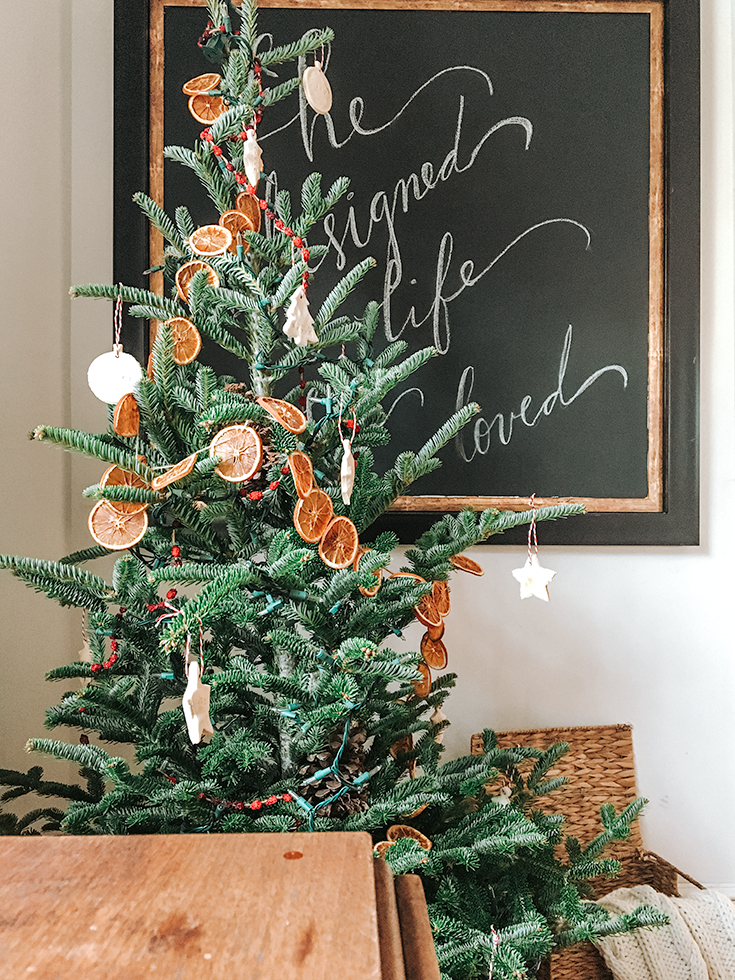
Dried orange slice garland Christmas decorations are a beautiful, natural, cost effective way to add a handmade feel to your holidays. They can be used to add a pop of color to your holiday mantel, Christmas tree ornaments, or gift toppers. Read more to find out exactly how to dry your orange slice galrand and what exactly you can do with them to fill your home with joy.

I am not sure when dried oranges were first used in Christmas decorating, but it is hard for me to imagine a time when oranges were not readily available year-round. Can you imagine waiting all year for the delightful taste of an orange?
At one time they were only a winter treat? Because of this, they are often associated with Christmas time.
In my opinion, they make beautiful holiday decorations. Dried oranges are so easy to make. They are an inexpensive way to add festivity to your home this holiday season.
Today I am happy to share an easy tutorial on how to dry orange slices for your Christmas decorations.

How to dry orange slices for Christmas decorations
Holiday DIY
Supplies
- Navel Oranges
- parchment paper
- baking sheet
How to dry orange slices in the oven.
- Pre-heat your oven to 200 degrees Fahrenheit
- Prepare your pan with nonstick spray, baking mat, or parchment paper. I’m using parchment paper, This helps to avoid a sticky mess.
- Cut oranges into into 1/4 inch slices or thinner. The thinner you cut, the faster they will dry.
- Place oranges in a single layer on the prepared pan. Make sure they do not touch.
- Baked orange slices for up to 6 hours, or until they are completely dry.
- Flip every hour. At the five hour mark begin to watch them more closely so that they do not start to burn, or brown. You may want to let them finish air drying.The key to baking dried orange slices is to use a very low temperature for a long time, slowly letting the orange slices dry. Raising the temperature to make them dry faster will only bake them instead of drying.After approximately six hours, remove your orange slices from the pan and allow them to cool.That’s it now you have your orange slices for your Christmas decorations this year.

How to dry orange slices in the microwave
Not only can you dry orange slices in the oven, but you can also dry them in the microwave. If you’re short on time try this method.
- Place four or five thinly sliced oranges on top of five or six paper towels.
- Next, add five or six more paper towels to the top of the orange slices.
- Microwave at 50% power for 8 minutes.
- Change out your paper towels.
- Microwave again at 8 minute intervals until the oranges are approximately 75% dry.
- Finally, remove them from the microwave and place it on a wire rack to finish drying.
This method takes approximately one hour.
How do you store dried orange slices?
To store dried orange slices simply place in a glass jar with a tight-fitting lid. store in a cool dark place.
How long will dried orange slice garland last?
Dried orange slice garland will last approximately two years if they were dehydrated and stored properly. Now let’s get to the fun part. how to decorate for Christmas with dried oranges.

How to make a DIY dried orange garland
Dried orange slices will last approximately two years if they were dehydrated and stored properly. Now let’s get to the fun part. how to decorate for Christmas with dried oranges.
Supplies
- Navel oranges
- Serrated knife
- baking sheet
- parchment paper
- twine
- scissors
Process
- Dry your orange slices and let them cool.
- After they have dried, poke two holes in the orange, approximately a half of an inch apart.
- Thread twine through the two holes.
- Continue threading twine through the holes on the orange slices until you have a garland long enough to use in your decorations.
- Tie off each end of the string with a loop and start decorating!

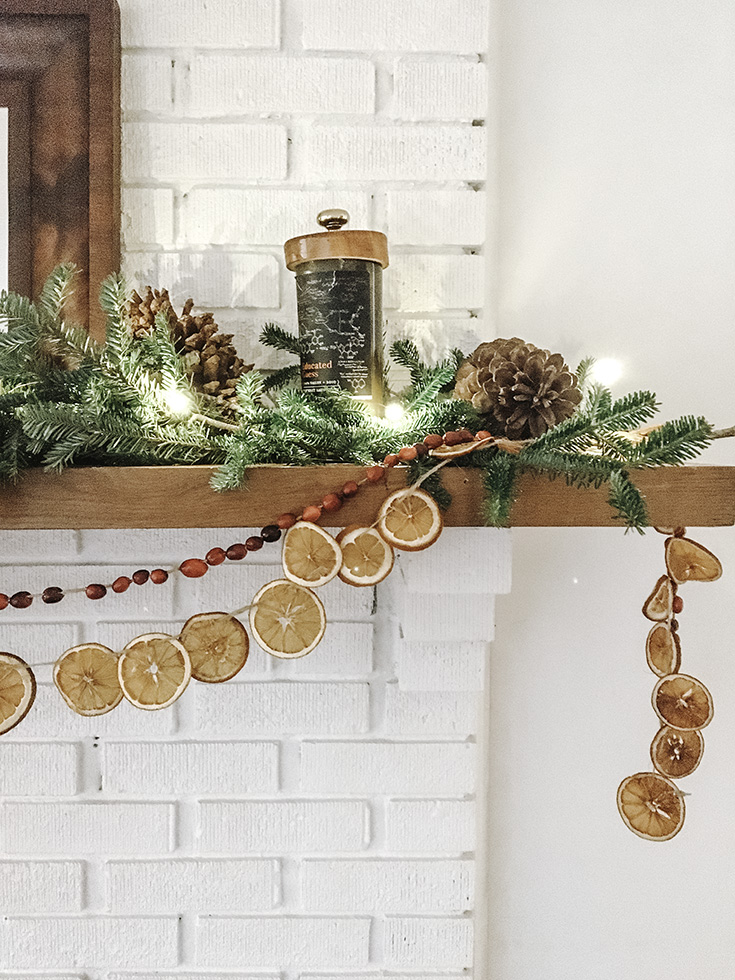
As you can see, I went a little bit crazy with dried oranges this season. I mixed them with cranberries to make a beautiful, simple garland. They are the perfect accent color in my home for the holidays because I have several pops of orange around my living room and sometimes I feel that the traditional use of red clashes in my living room.
What are your favorite homemade holiday decorations?
Shop this post
Don’t have time to make your own dried oranges, you can buy them from Amazon. Click the link below.
Check out these other holiday posts while you’re here.
DIY Christmas tree stand. This is a cute alternative to your traditional, ugly, plastic Christmas tree stand. I am sharing four ways you can anchor your tree in a bucket or basket for a DIY stand.
Healthy, Homemade Hot Cocoa Recipe. This recipe is a delicious, easy alternative to the store-bought stuff. It uses 4 simple ingredients and takes less than 5 minutes to make. It is perfect for a cold, blustery winter day
Inspirational Salt Dough Ornaments. Learn how to make adorable salt dough ornaments for your Christmas tree. This tutorial will teach you everything you need to know step-by-step. This is a fun project for adults and kids alike. Nothing beats a homemade Christmas tree ornament, and these are simply delightful.
DIY Orange Ginger Sugar Scrub recipe. This recipe makes a wonderful holiday gift for friends and family, or make it for yourself to keep dry, winter skin away. This sugar scrub is made from ingredients you’ll find lying around your kitchen + a few essential oils. It is my go to exfoliate my skin and keep it soft during the winter.
DIY Fresh Christmas garland. This tutorial will show you exactly how to make your own fresh Christmas garland in 8 simple steps. It is so easy and takes less than an hour to make. I found the fresh greenery and holly in my backyard. It will make your home smell lovely for days!
Absolutely the best peanut butter fudge recipe ever! I am not kidding, it really is the best fudge I have ever tried. It will satisfy any sweet tooth. In addition to being delicious, it makes a terrific, holiday party treat. It is also easy to pack up and ship to friends and family out-of-state.
7 of the most charming Scandinavian Christmas decorating ideas. Are you familiar with the simple Scandinavian style? Well, I am here to tell you I am in love. On the blog, I am sharing why I love the Scandinavian style so much and 7 easy ways you can incorporate the Scandinavian style into your holiday decorations this year. Why not try something new this season? Click the link to find out more about this simple, rustic style of Christmas decorating.–
PIN IT FOR LATER

WE LOVE FEEDBACK!
We love to hear your feedback! Please leave us a comment below. Also, we love shares! Share this post on social, and tag it #elizabethmortoncreative. Pin it on Pinterest for later.


