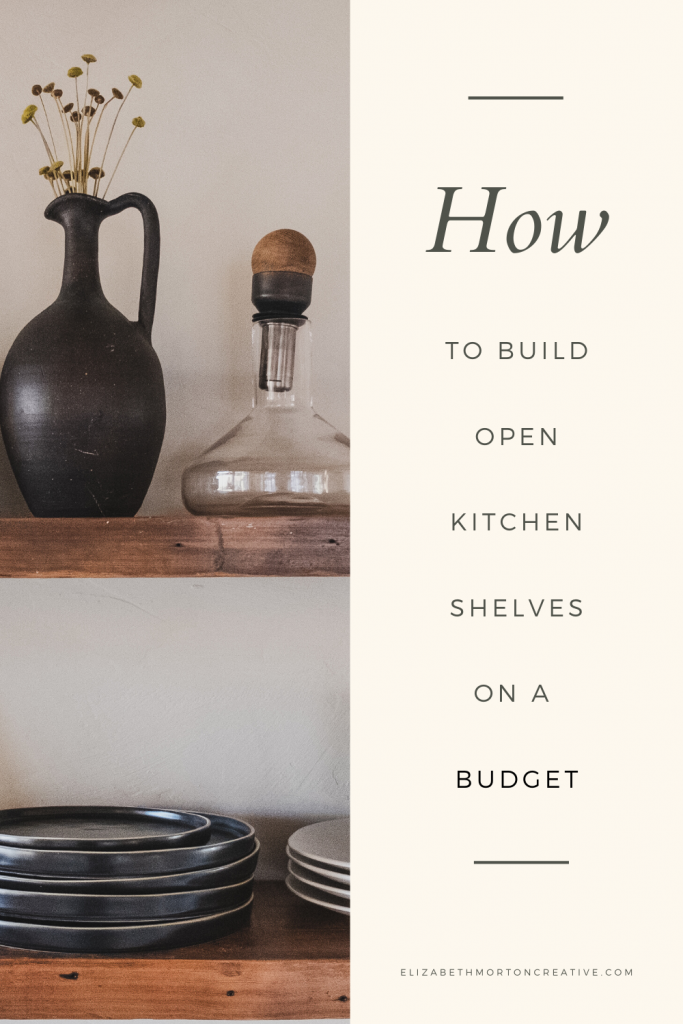
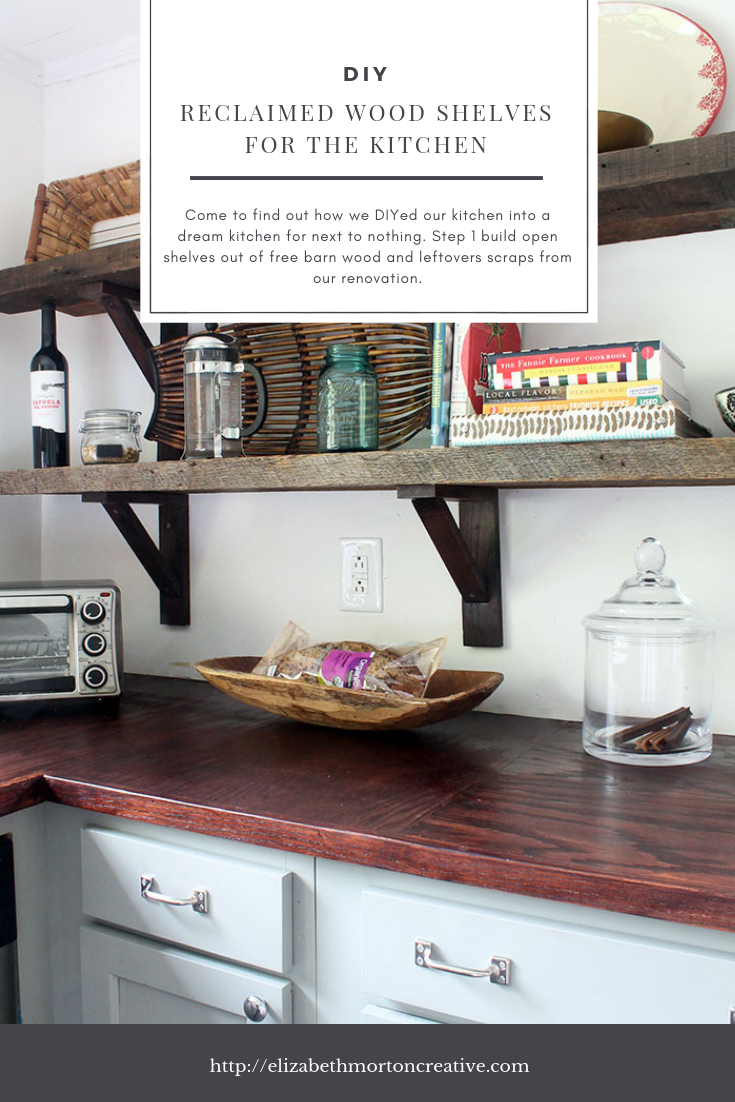
Today I am excited to share one of my favorite house projects! How to build reclaimed wooden shelves for super cheap. We built wooden shelves for the kitchen out of free barn wood and scraps left over from our renovation. It literally cost next to nothing.
As I am sure you will agree, remodeling a kitchen can be expensive. It is one of the most expensive rooms in the home to upgrade. We were on a very tight budget during our renovation and needed a chic, yet affordable solution for upper cabinets. I love reclaimed wood and open shelving so we decided to tie the two of them both together into one project. Voila! Reclaimed shelving out of barn wood. I think it makes the kitchen. Are you ready to find out how we did it!?
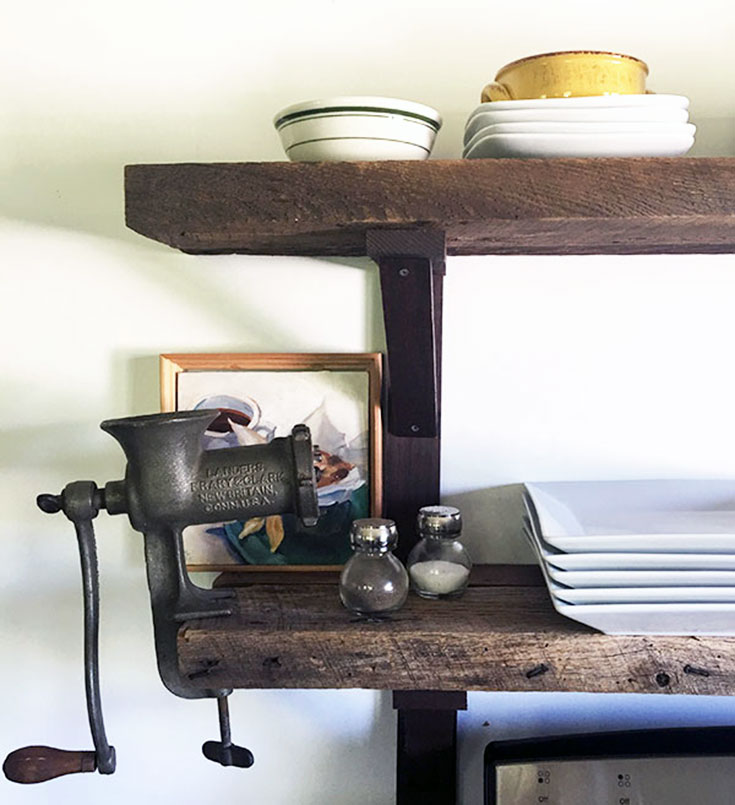
The wooden brackets for our shelves were so easy to make! We used extra red oak scraps lying around from our entry floor installation. To keep costs down, we repurposed it into support brackets for the shelves. Starting with two-widths, we used 2 ½” thick pieces for the horizontal and vertical brackets. 1 ¾” thick strips were used for the 45-degree support piece.
DIY Wooden Shelf Brackets
Tutorial
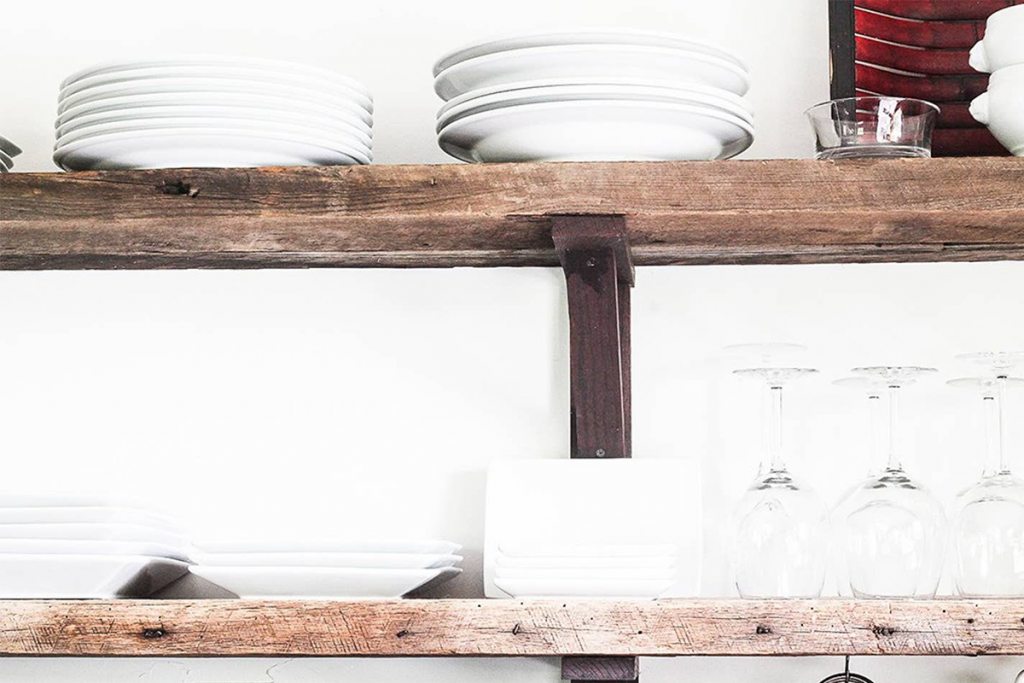
Our shelves were 80” long and 9 ¾” deep. We had four shelves total.
Supplies:
For four 80” shelves | 9 ¾” deep
- 6- 2 ½” thick wood @ 10” bottom vertical support
- 6- 2 ½” thick @12” top vertical support
- 6- 2 ½” thick @ 9” horizontal holds shelf
- 12- 1 ¾” thick @ 10” angled support
- Mitre saw
- Wood glue
- Minwax Wood Finish Penetrating Stain, we used Walnut
- Minwax Polycrylic, Satin
- (24) 1 ½” screws
- (24) 3” screws to screw into drywall
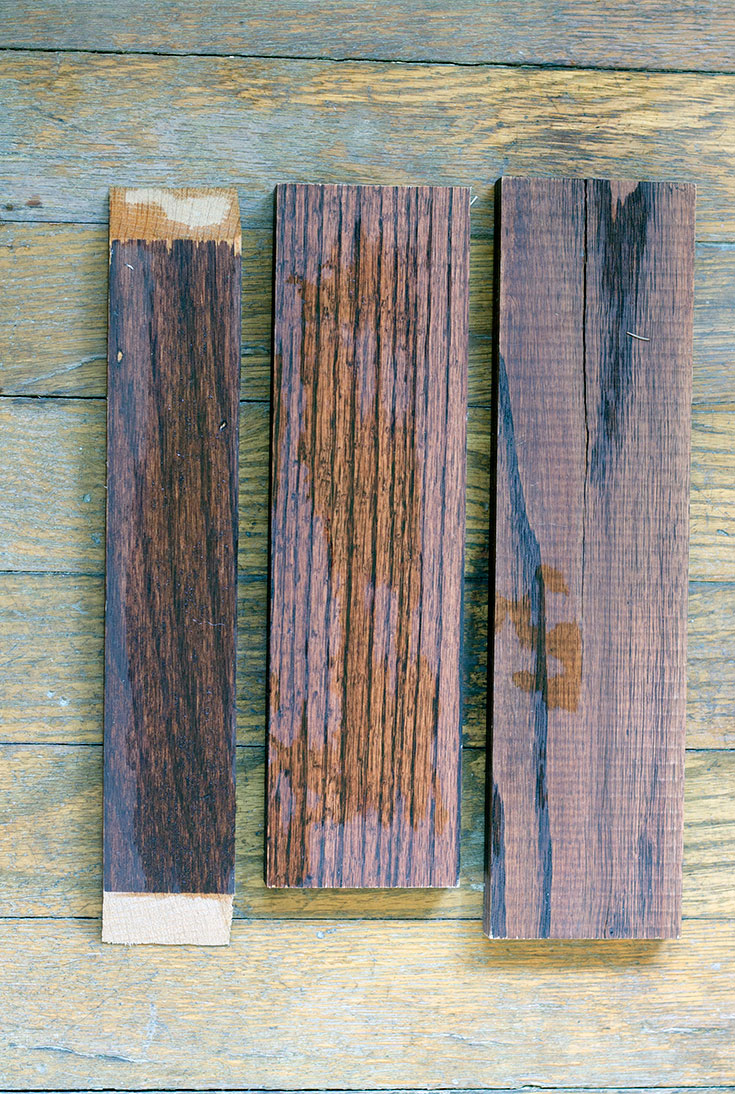
1: Stain Your Wood
https://www.instagram.com/p/16IhULF5Le/
First, we stained the wood with Minwax Wood Finish Penetrating Stain in Dark Walnut and polyurethaned them with Minwax Polycrylic, Satin. After two coats, we moved onto our cuts.
2: Cut your Wood
First, cut your 2 ½” straight pieces. You will need 6 pieces at 10” long. These will be the vertical supports for your bottom shelves. Next, we cut 6 pieces at 12” long for the top shelf, vertical supports. We knew we wanted a 12” distance between the top and bottom shelf. Next, cut your 1 ¾” 45 degree angled supports. This is where it gets a little tricky. You will need to alternate each side on the cuts.
- Adjust the miter saw to a 45-degree angle.
- Mark the spot where you want your cut to be. Be sure to extend the mark completely across the wood. They always say, “measure twice, cut once.”
- Position the wood against the fence. Lower the blade until it touches the wood to make sure it is in alignment with your mark.
- Turn on the saw, and make the cut. One side down. Now onto the second.
- For the bottom shelf, measure 10” from the long end of your fresh cut and mark it. For your top shelf, measure 12” from the long end of your fresh cut and mark it.
- Flip your board by lifting the freshly cut end and rotating it from 3 o’clock to 9 o’clock.
- Line the mark up with your blade and make the cut.
- Congratulations! You have all of the pieces you need to move forward to the next step.
3: Build the Brackets!
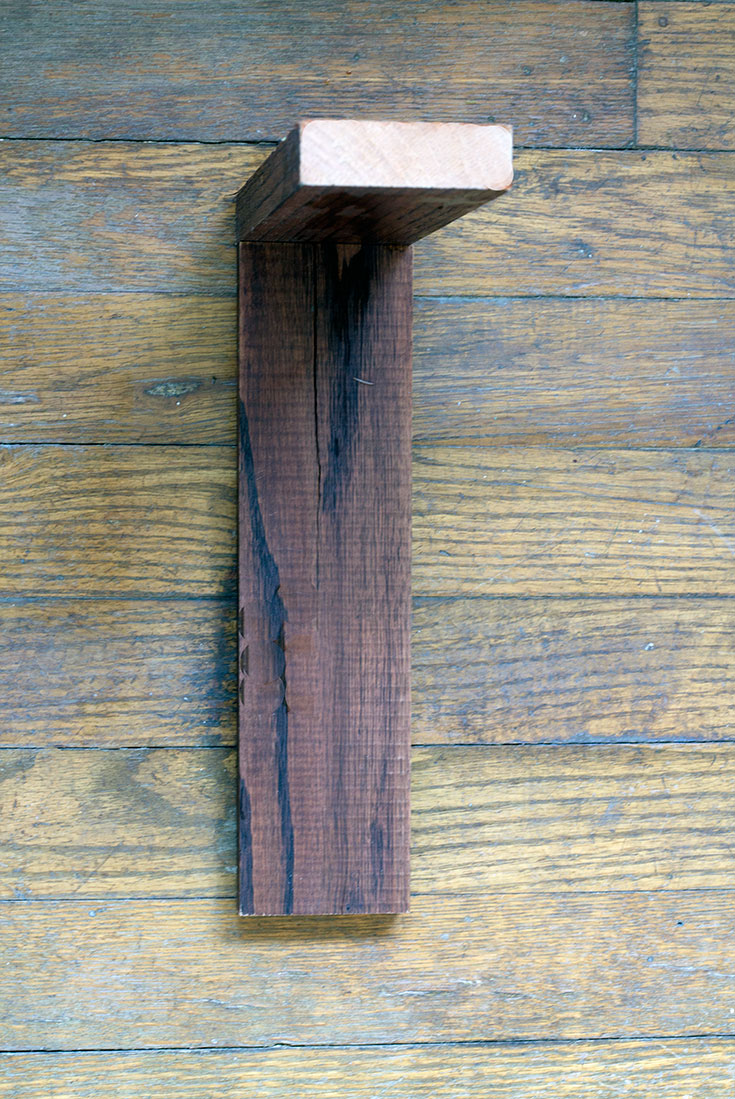
- Drill a pilot hole into one end of 6 of the 9” boards (the board on top in the photo below). This will be the board that supports the shelf.
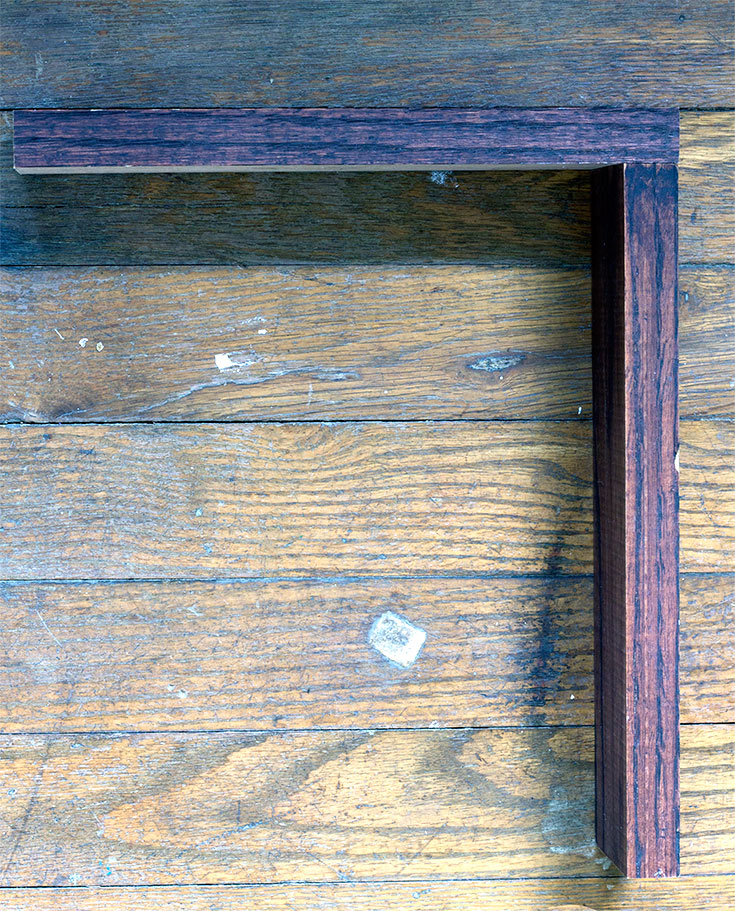 2. First of all, lay out your boards at a 90-degree angle. Now, place 1- 9” board with a pilot hole on top of the 1- 10” board (as seen above). And finally, add a small amount of wood glue to each touching piece, then screw through the pilot hole. This will attach your two pieces at a 90” angle. Repeat the process with all 10” boards.
- Move on and attach 1-9” board with a pilot hole to 1- 12” board in the same manner, and repeat until you have all of the pieces complete.
- Attach your support piece. Place the board with the 45-degree angles against your other two pieces.
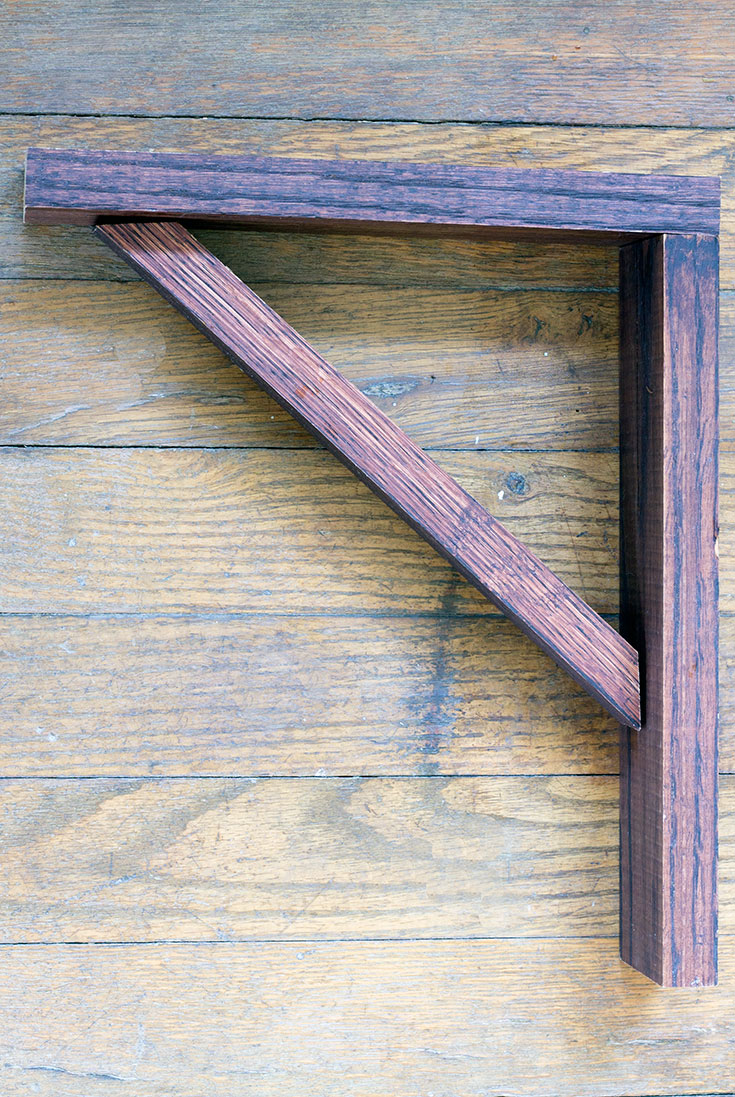
- Drill pilot holes through the top board, into the angled piece. Drill a second pilot hole through the back of the vertical support, into the angled piece. Add a little bit of glue to each angled end and screw into place. Yay! Now your brackets are built and it is time to install them!
3: Install Your Brackets
- Use a stud finder to find the studs in your wall, or use heavy duty anchors.
- Screw your brackets into place.
4: Find your Reclaimed Wood
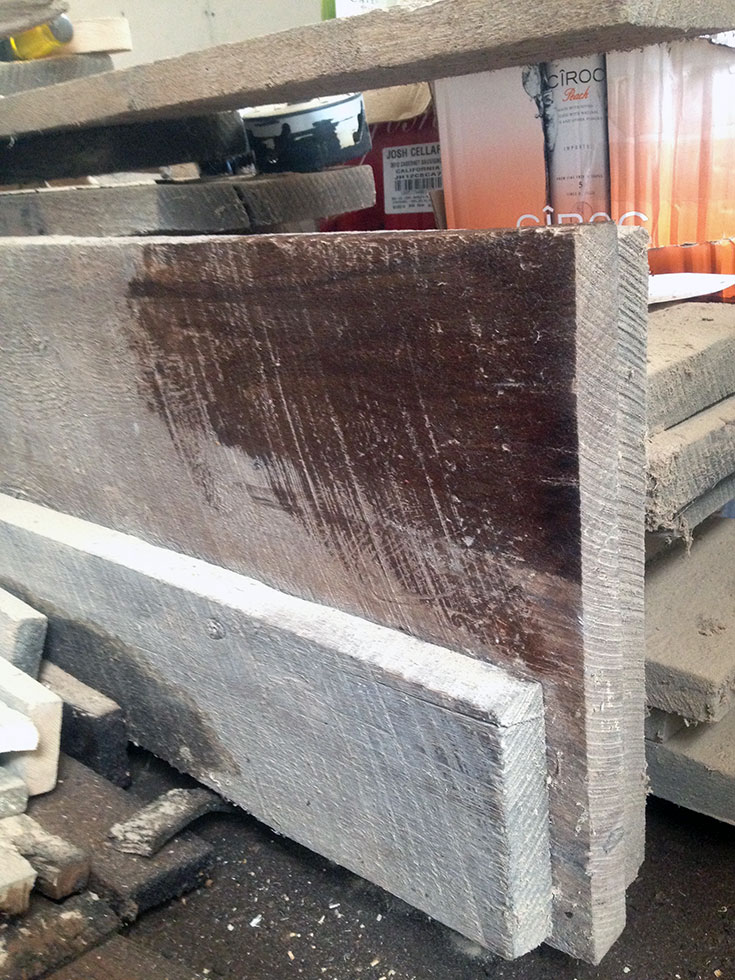
Fortunately, we had some old barn wood laying around the garage. I cleaned it up and used it for my shelves.
Step 2: Install your Reclaimed Wood Shelf
The brackets are screwed in and you have your reclaimed wood. Now, let’s install this thing! It is so simple. Just lay your boards on top of the supports and screws from the bottom, through the support and into the shelf.
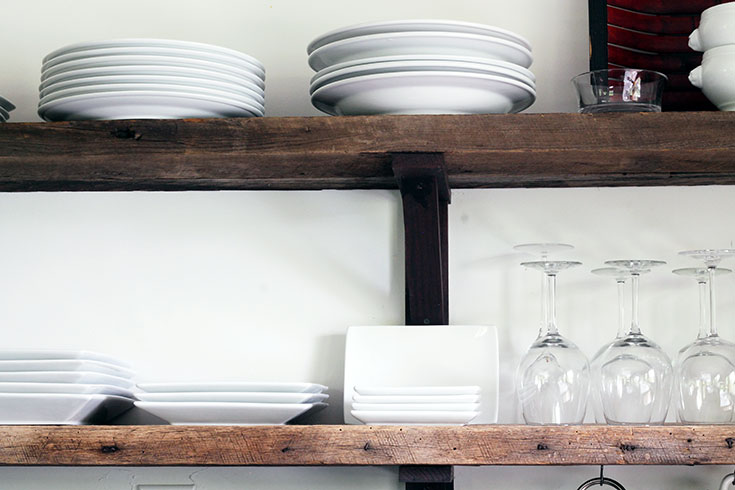
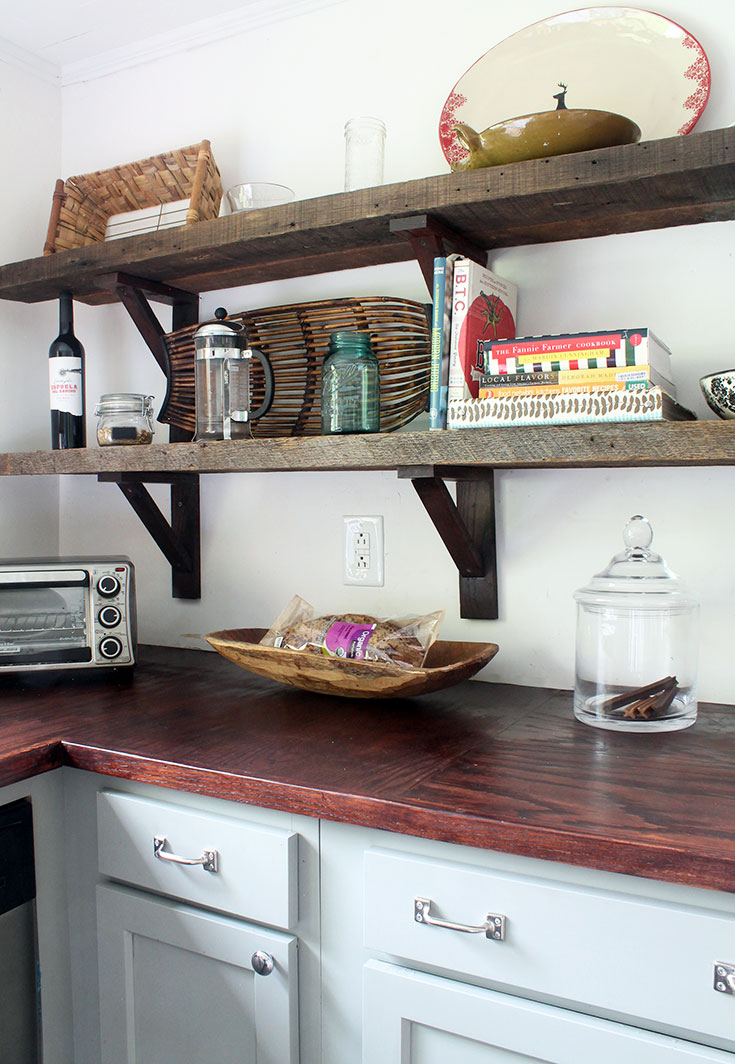
All finished! What I love about this project is that it such a simple and inexpensive way to update your kitchen. Heck, it would work in any room of your house. Anywhere you need shelving, just whip up a couple these easy brackets and a piece of old barnwood and you have a new shelf.
We were wrestling with a couple floor plan options for the kitchen in this post. Fortunately, our inspiration helped us make the final decision and we are happy it did!
Can you believe how far we have come since we started the kitchen remodel in 2014, check out our progress update from 8/2014?
We thought long and hard about our kitchen cabinet color, it was a debate between Black or Greige. Do you think we made the right choice? Check out our original inspiration here.
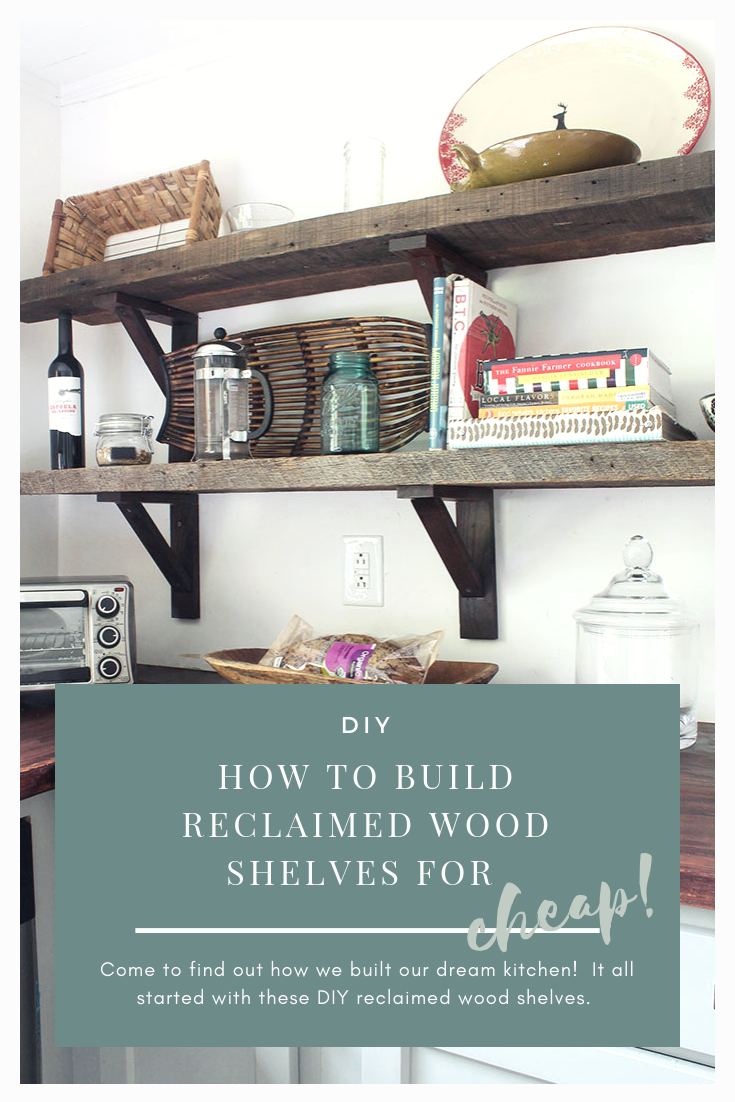

PIN THIS DIY TUTORIAL FOR LATER